
Blog & News
How Driveway Gate Installation Works Step by Step: A Campbell Homeowner’s Guide
jay jay
Aug 27, 2026
Article, Uncategorized
A homeowner on Hacienda Avenue in Campbell called us last spring about a gate project that had already gone wrong once. A previous crew had set the posts, hung a heavy dual-swing iron gate — and then the operator failed within three weeks. The homeowner was out $2,400 in labor and facing a gate that swung open on its own at 2 a.m. The stakes were real: a young family, a dog that bolted, and a car parked in the driveway that had been bumped twice by the runaway panel. When we arrived for the diagnostic, the problem was clear within ten minutes — the conduit run was crushed under a post footing, the operator was wired without a dedicated circuit, and the post depth was 18 inches on soil that needed at least 30. Everything had to come out and start over.
That job taught me something worth sharing: understanding how driveway gate installation works step by step saves homeowners from exactly this kind of expensive do-over. When you know what a proper process looks like, you can ask the right questions before you sign anything.
A Real Campbell Job That Almost Went Sideways — Before It Went Right
After we pulled the failed installation, the homeowner’s budget was tight. We had to be efficient and accurate — no room for surprises. The driveway opening measured 14 feet, the slope was a 3-inch drop from left to right, and the existing concrete apron was in good shape but needed to be cored rather than jackhammered to protect it.
We proposed a single slide gate in powder-coated steel with a linear operator and a keypad plus loop detector combo. Total project cost on the redo: $6,800 all-in, including demo of the original failed installation. Timeline: one full day for structural work, a second morning for electrical and programming.
The outcome — the gate has been running daily for eight months without a single service call. That’s the standard every installation should hit.
What Happens Before a Single Post Gets Set
Good gate installation is 40% planning. Before any digging starts, here’s what a proper site assessment covers:
Measuring the opening and the swing or slide path. For a swing gate, we check that both panels have clear arc room — no slope changes, no planting, no downspouts in the path. For a slide gate, we confirm there’s at least 1.5 times the gate width of run space along the fence line.
Soil and footing conditions. In the South Bay, we see a mix of heavy clay near creek corridors and looser decomposed granite on hillside lots. Clay holds moisture and moves seasonally — that means deeper footings and, sometimes, a larger footing diameter to prevent lean over time. We check this before we quote, not after.
Utility markings. We always call for utility locates before any digging. Gas, irrigation, and low-voltage lines hide in driveway aprons more often than homeowners expect — especially on properties that have had landscaping work done over the years.
Permit requirements. In Campbell and neighboring areas like Los Gatos, a gate over a certain height or with an operator often requires a building permit. We pull it, not the homeowner. This protects you at resale and makes sure the installation meets current code.
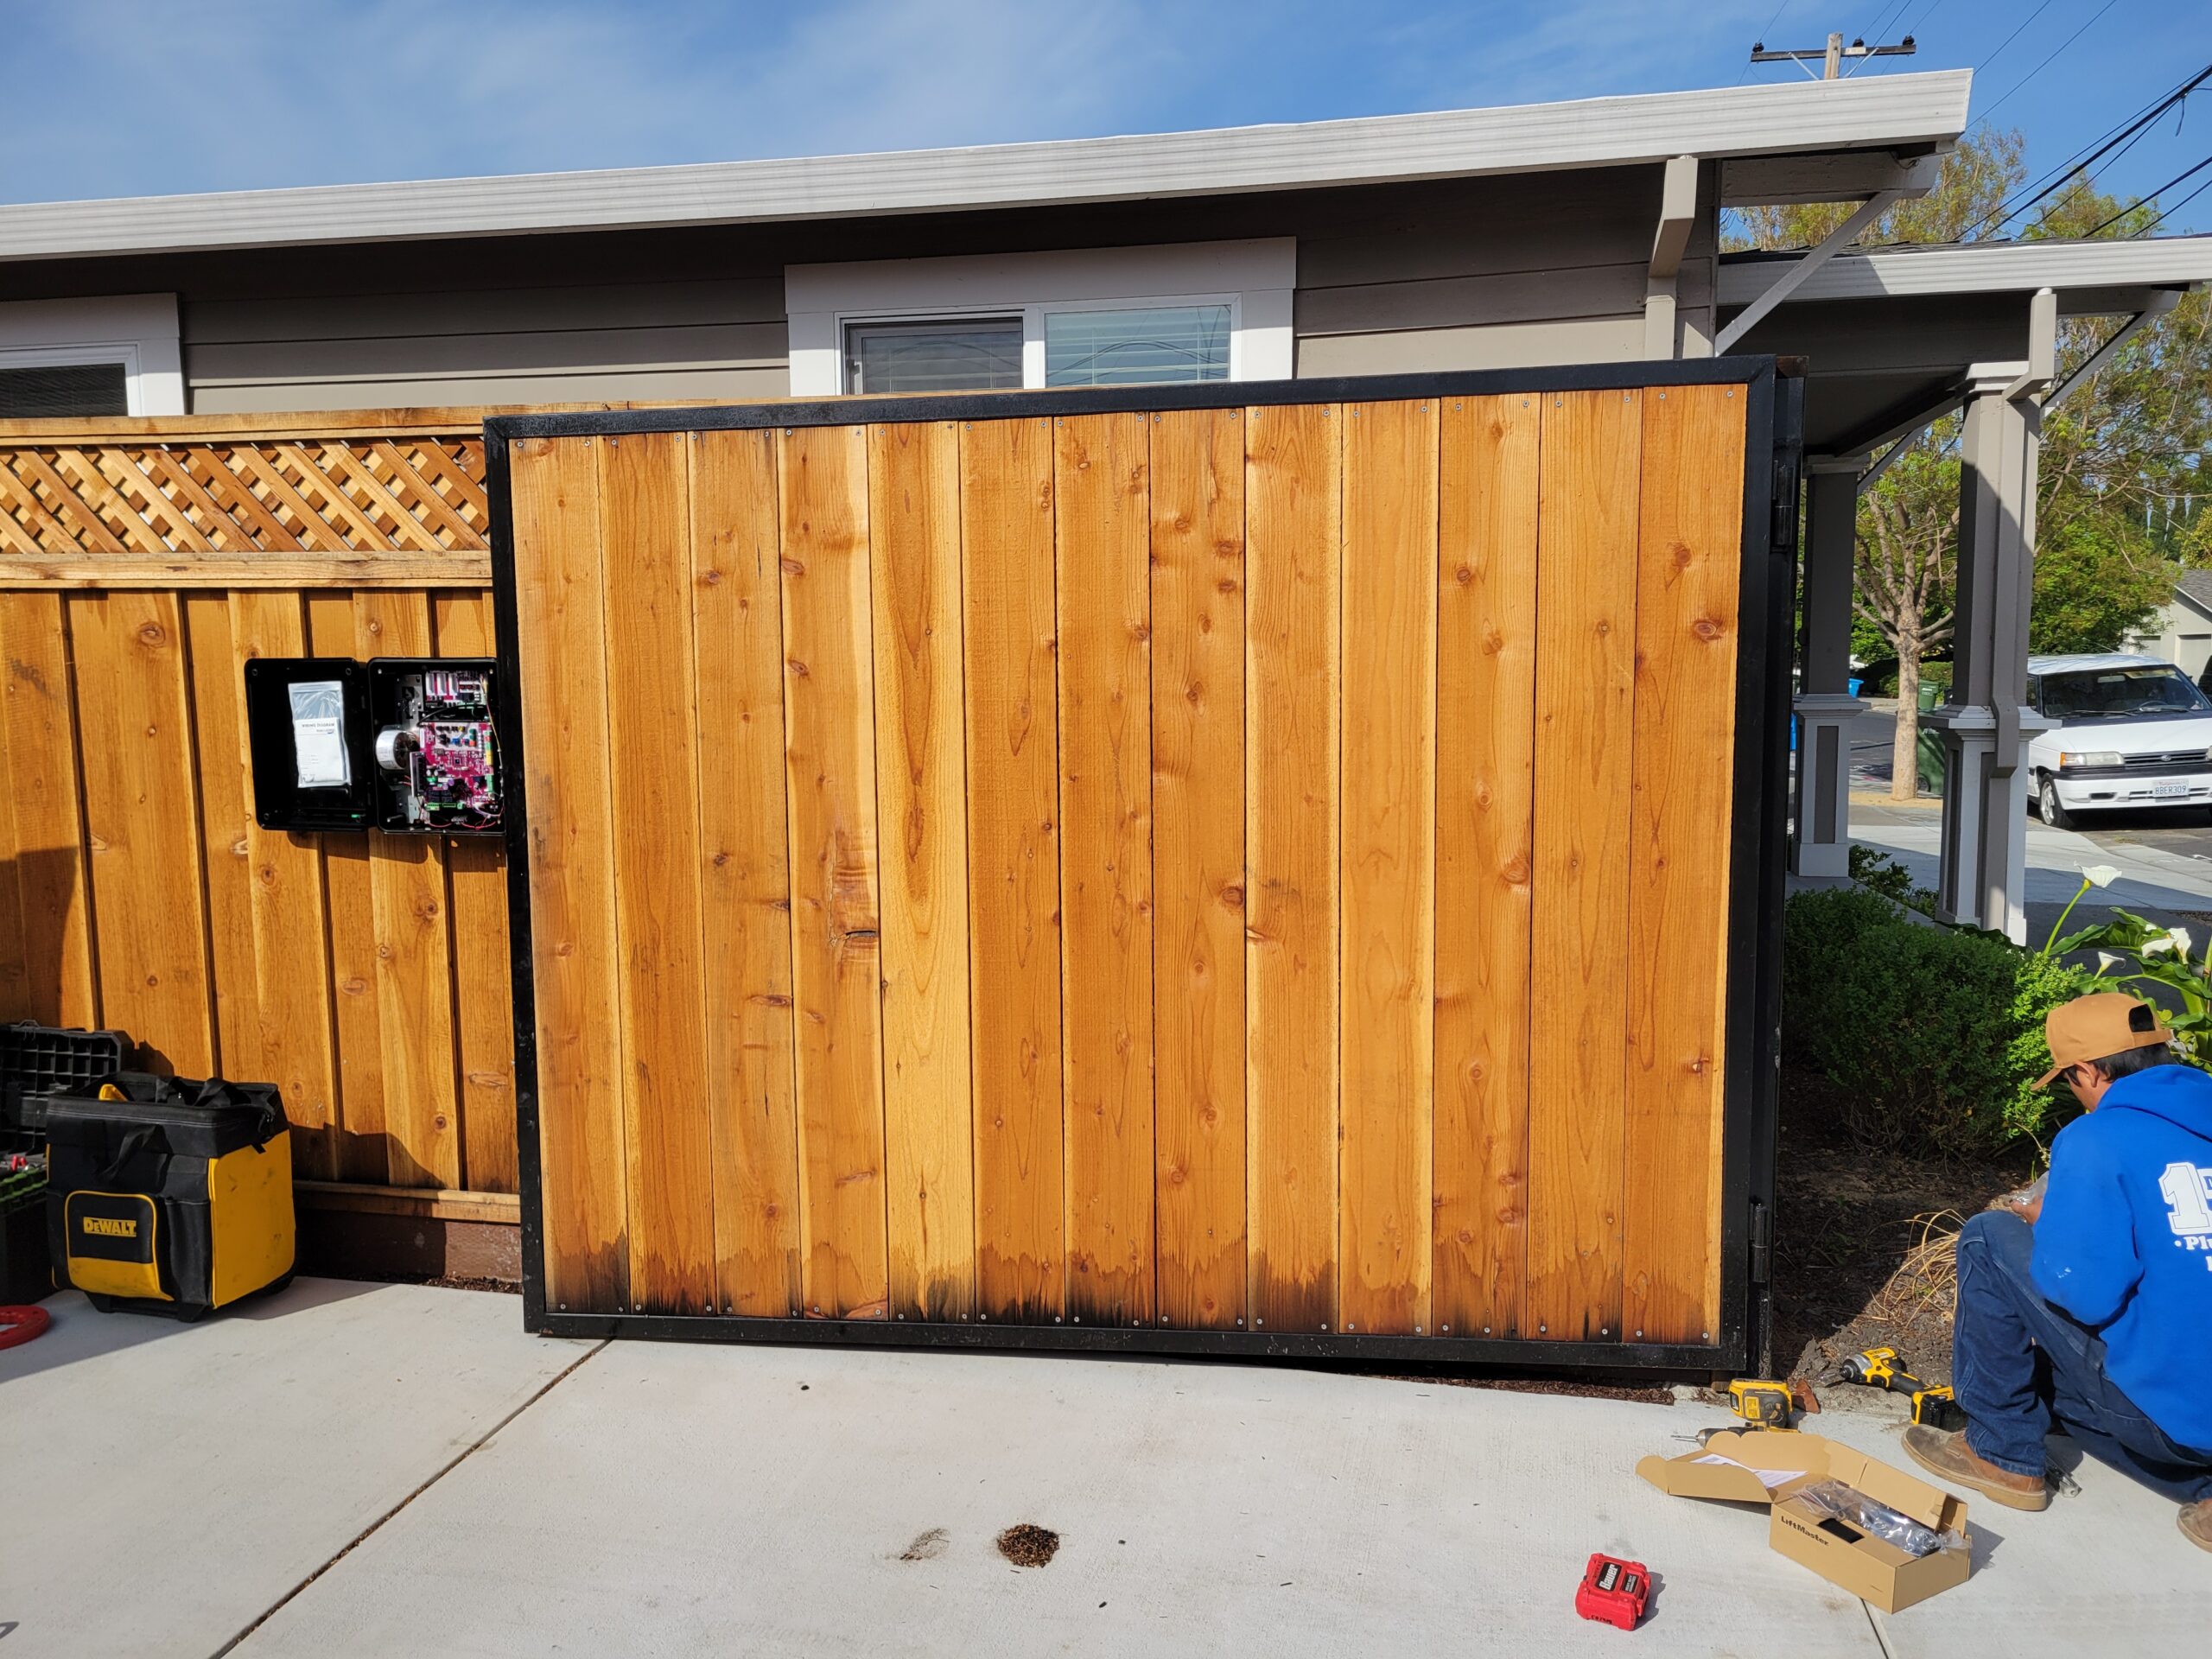
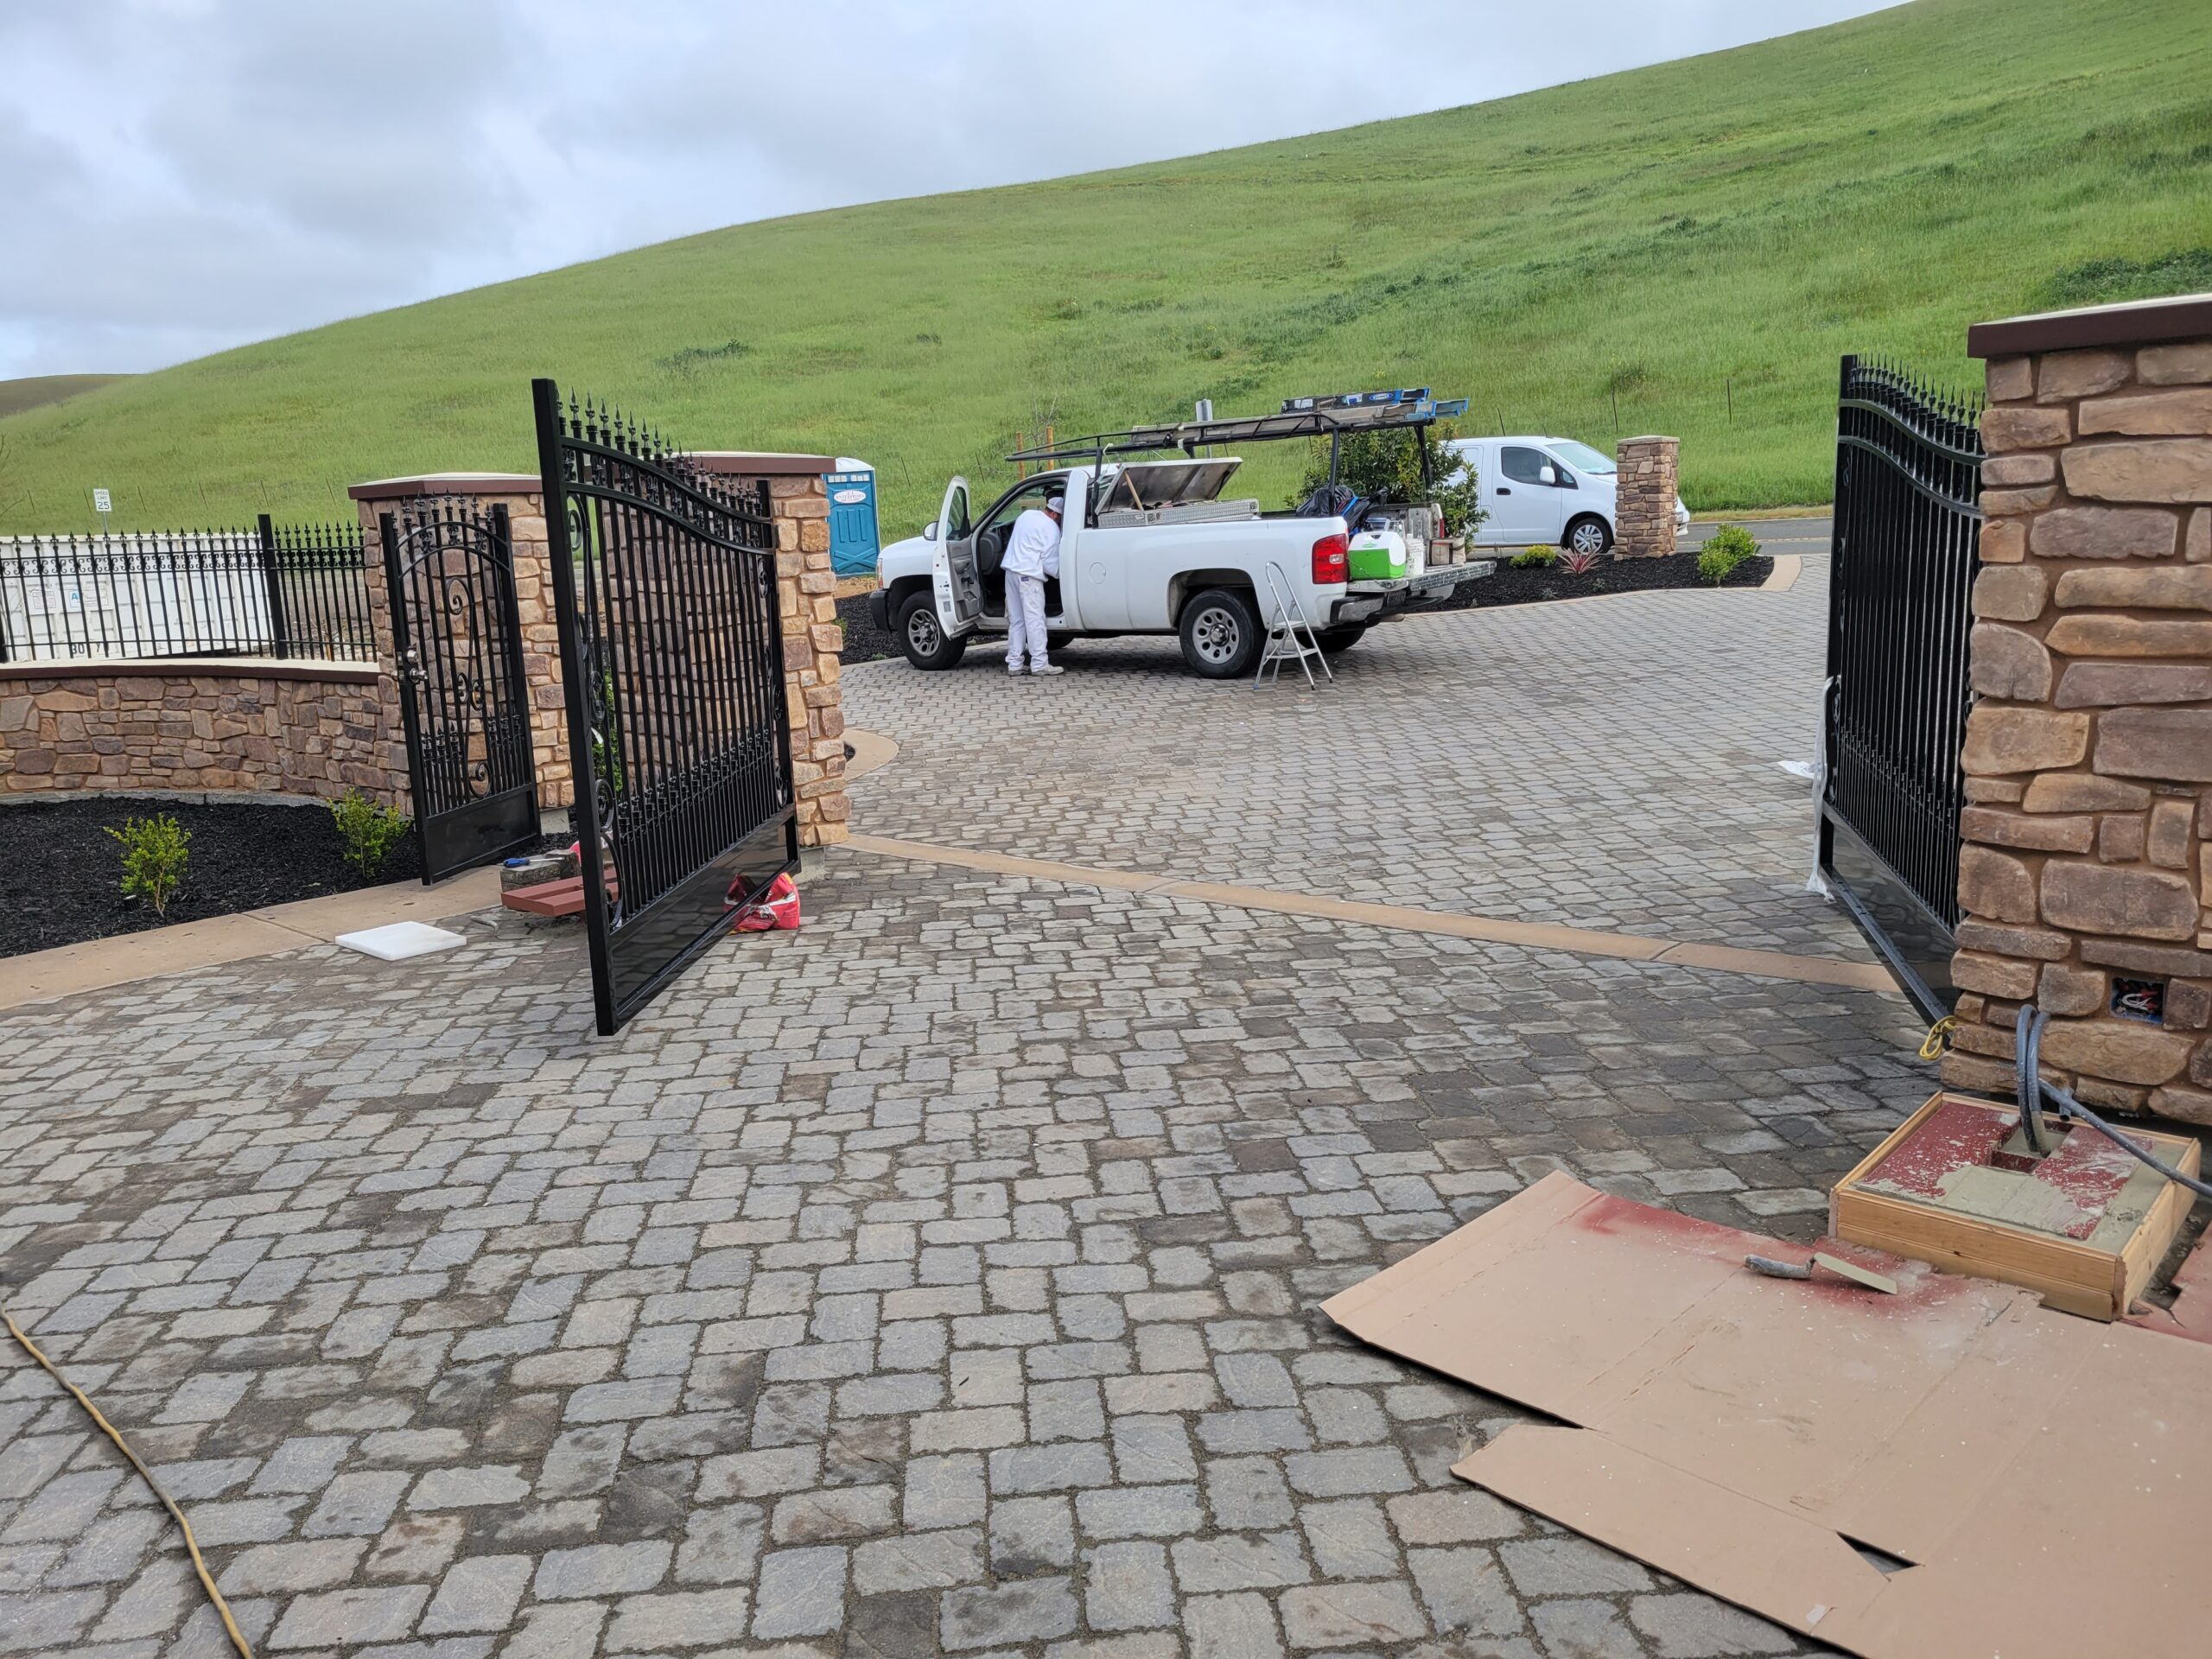
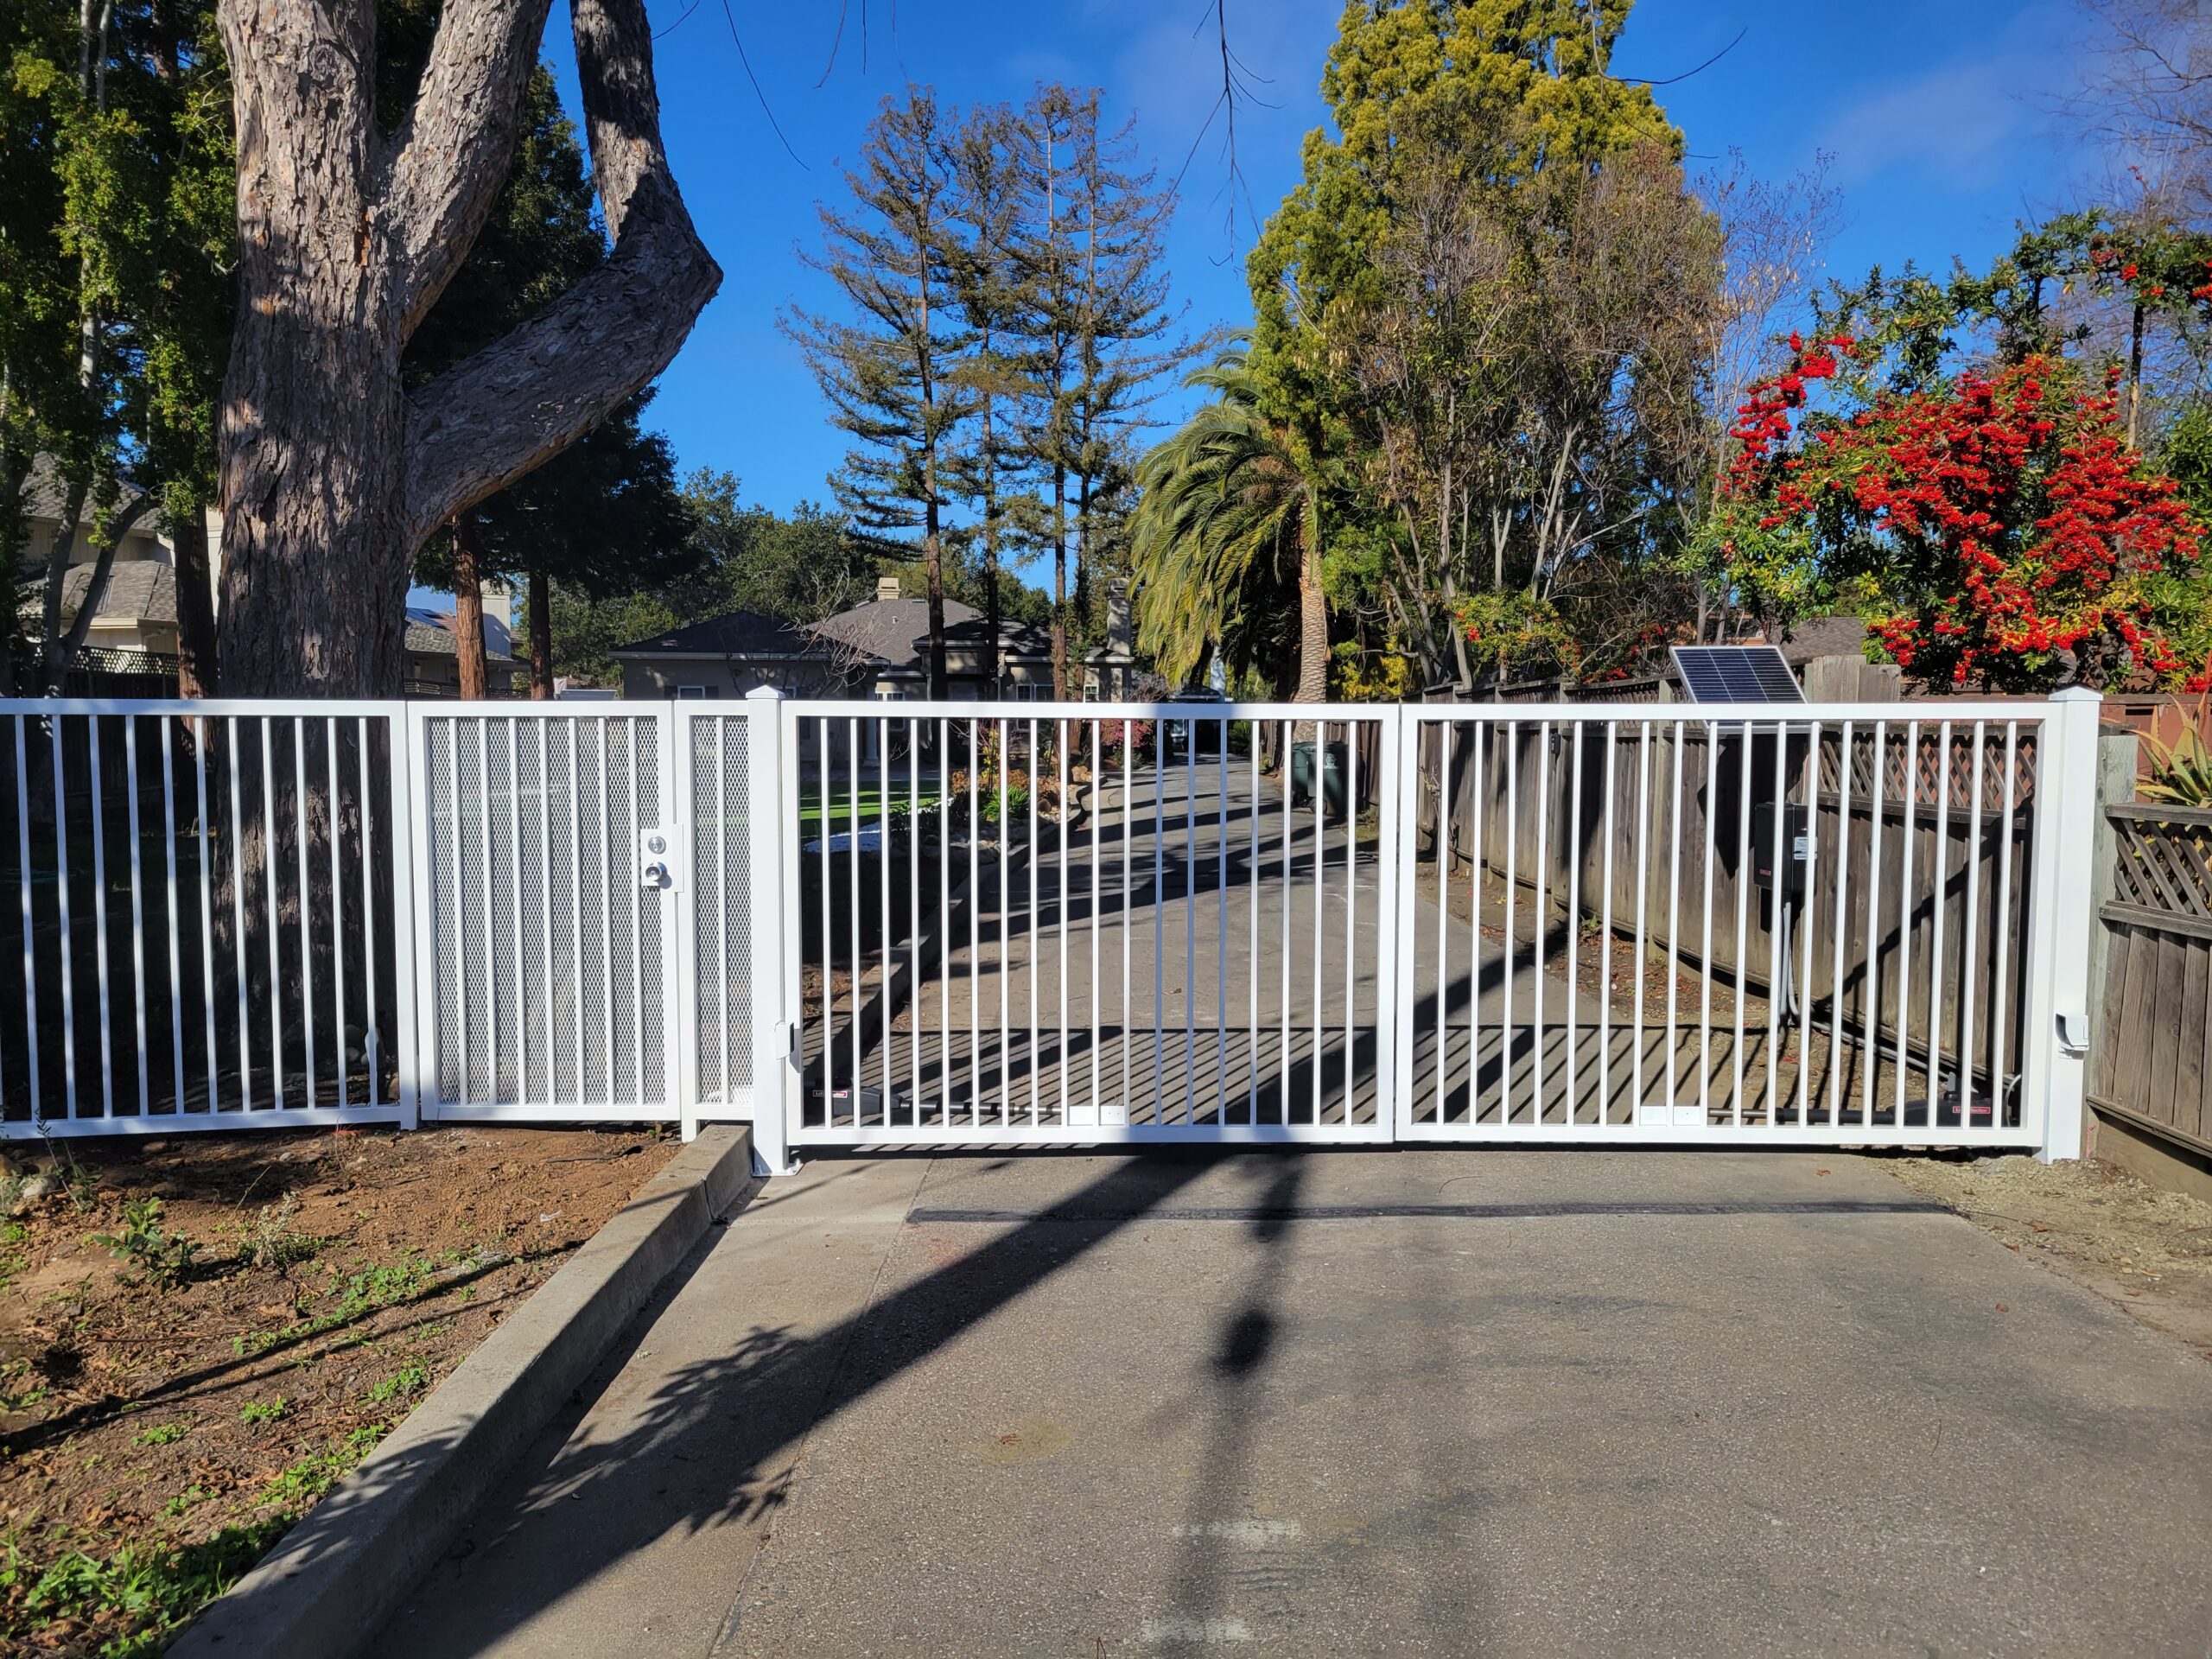
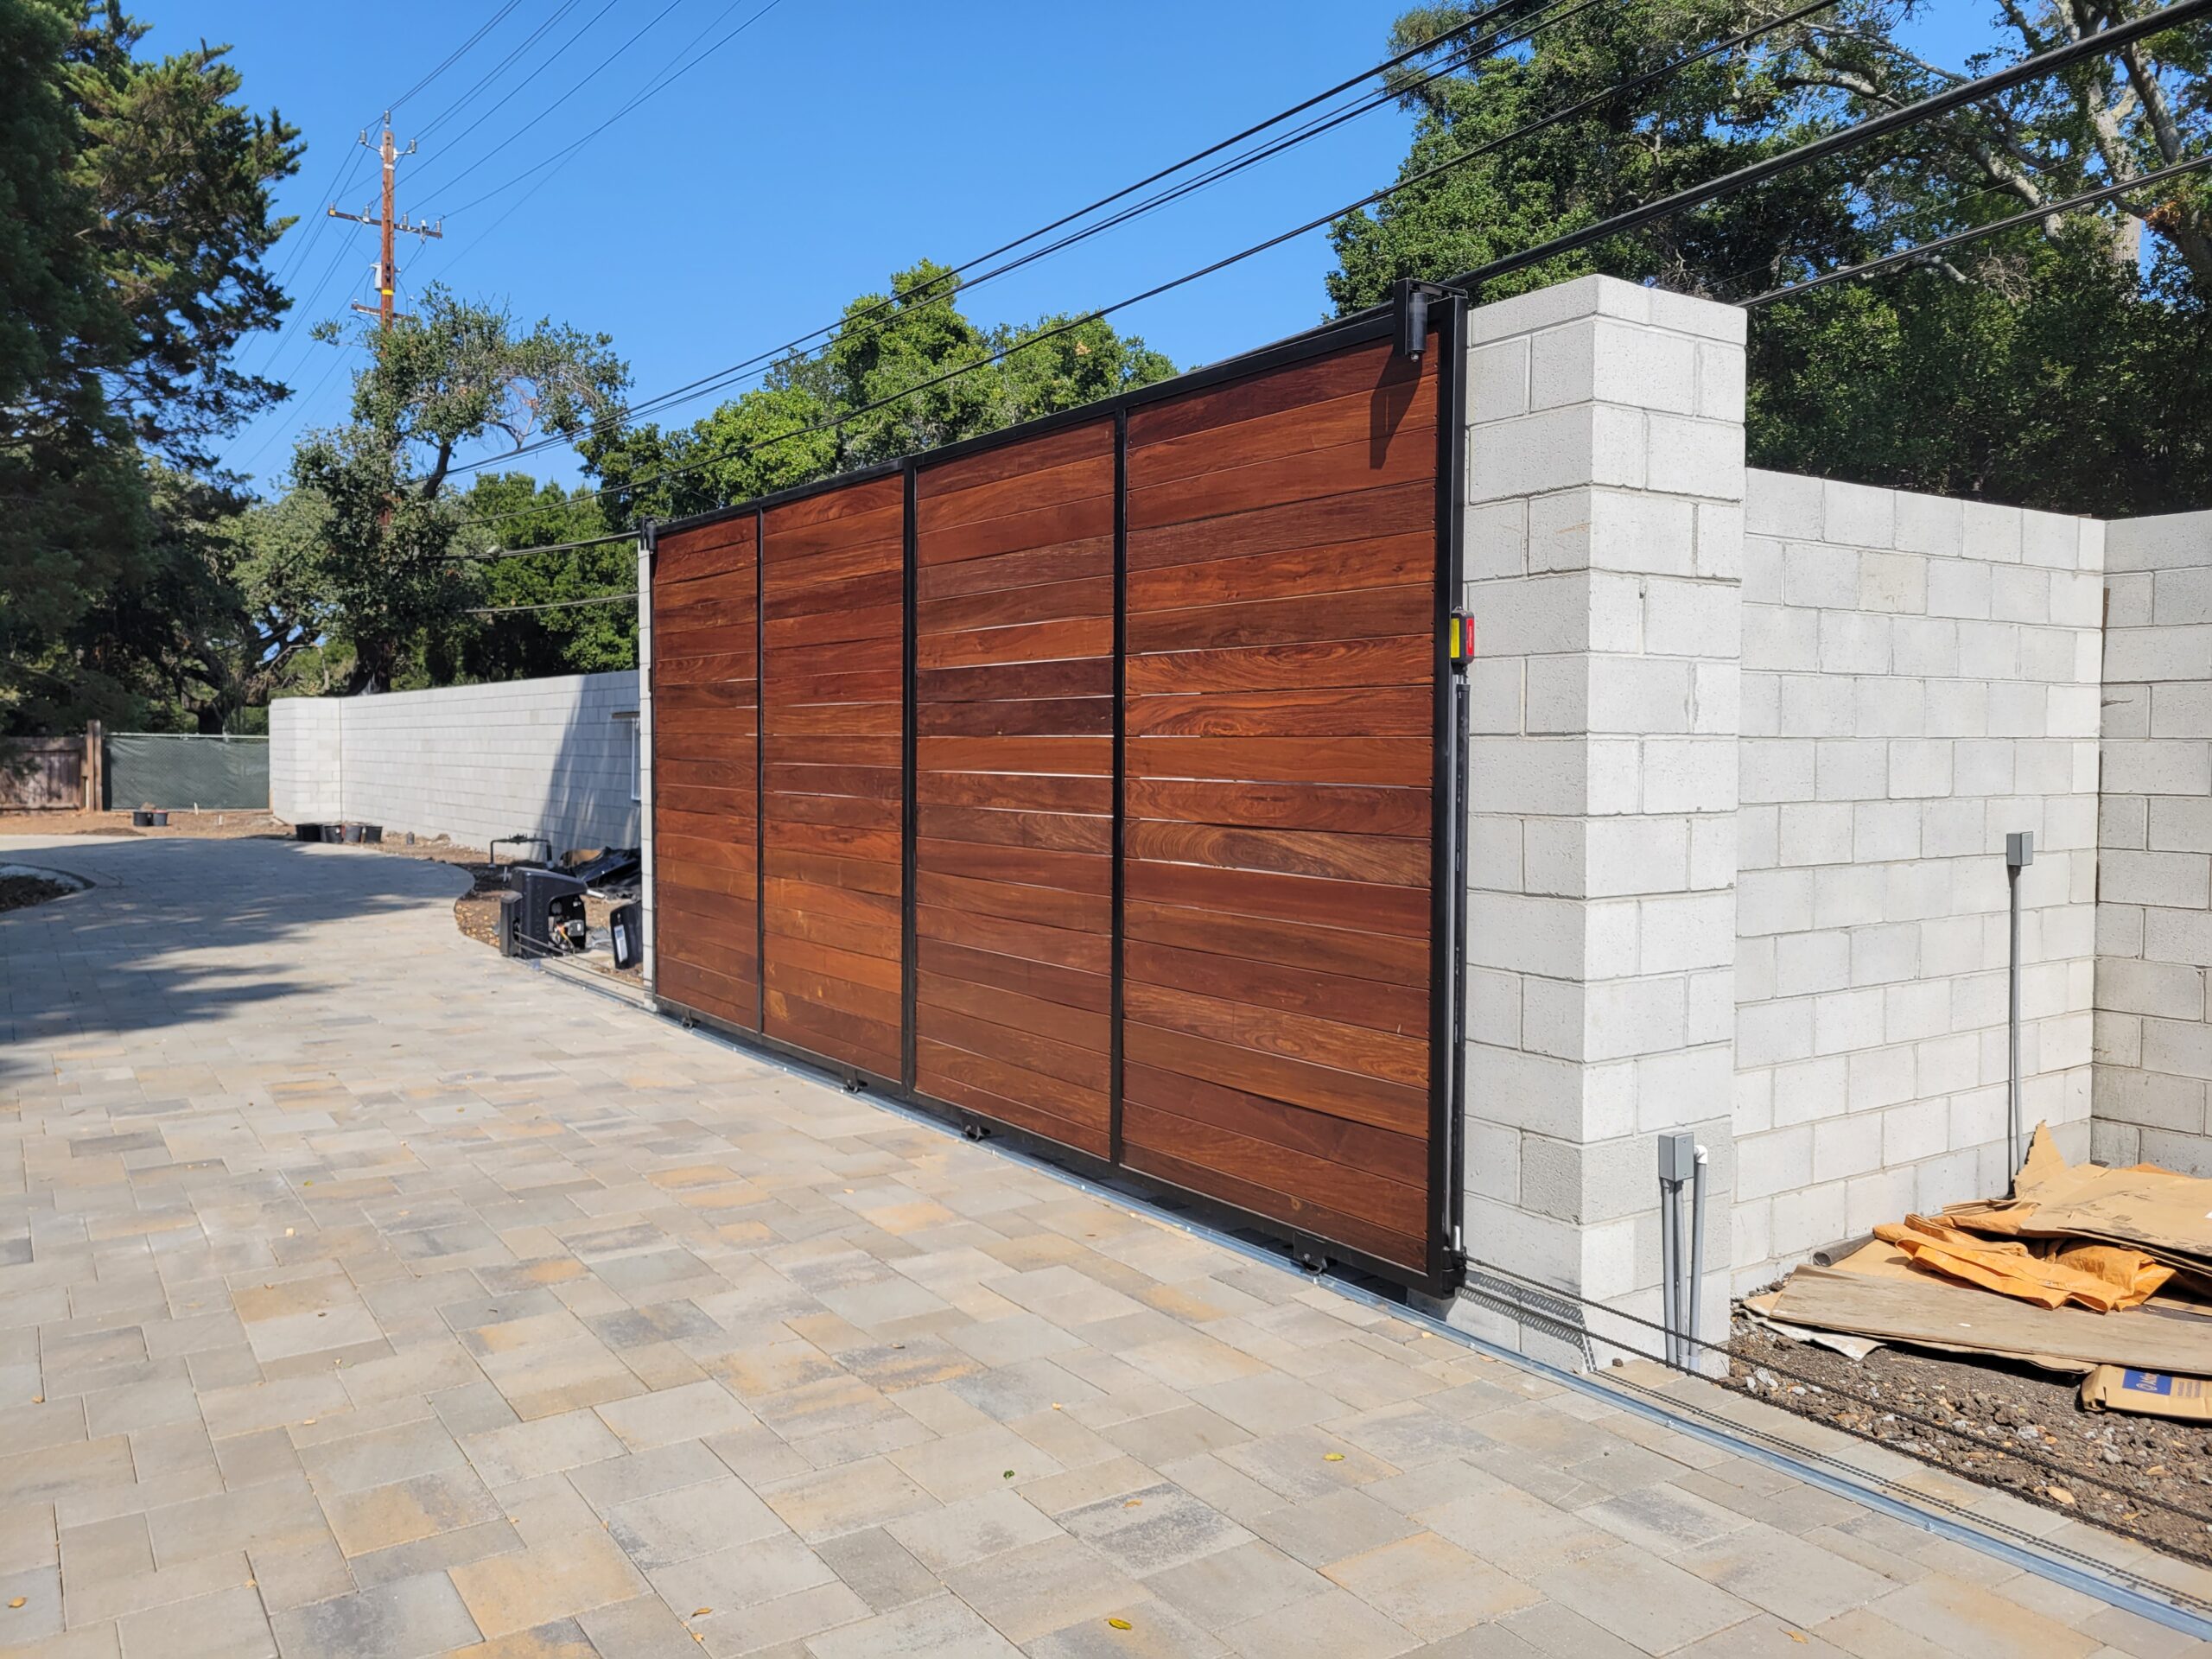
For customers who want to see finished projects before committing, our gallery shows real completed jobs across the South Bay — a useful reference when you’re choosing style and material.
How the Posts and Framework Go In
Post-setting is the step that determines whether a gate runs smoothly for decades or starts sagging in year two.
Post sizing and placement
For a steel swing gate, we use a minimum 4×4-inch square steel post, typically 3/16-inch wall thickness, set at a depth that accounts for both the gate weight and local frost/soil movement. In Campbell, 30–36 inches is our standard for anything over 200 lbs per panel.
We core or dig, drop in the post plumb using a level on two faces simultaneously, and pack with concrete. We let it cure — at minimum overnight, preferably 24–48 hours — before we hang any weight on it. This is the step that most rushed crews skip, and it’s usually the reason gates go out of square within a season.
Slide gate track and cantilever systems
For slide gates, we set a heavy concrete pad or use a cantilever system that keeps the gate off the ground entirely. Cantilever is more expensive upfront but nearly eliminates track-clogging issues — particularly valuable on properties where debris or standing water is a factor.
Looking for Affordable Garage & Gate Repairs?
We offer quality service at competitive rates. Call (650) 912-1200 today to schedule your repair.
Running Conduit, Power, and the Gate Operator
This is where electrical work intersects with gate mechanics, and it’s where many DIY or budget installations cut corners.
Dedicated circuit. A gate operator needs its own 20-amp circuit. Sharing a circuit with outdoor lighting or an outlet causes nuisance tripping and can damage the operator’s control board over time. We coordinate with a licensed electrician if the panel work exceeds our scope, or we include it in our crew’s work when we’re handling the full project.
Conduit routing. All low-voltage and line-voltage conduit goes underground, sleeved in schedule-40 PVC, and routed before the post footings cure — never after, which is what caused the crushed conduit on that Hacienda Avenue job. We mark conduit depth and location on a simple site sketch we leave with the homeowner for future reference.
Operator selection. The operator choice depends on gate weight, cycle frequency, and power availability. A residential swing gate used 10–15 times a day is a very different load than a commercial slide gate cycling 80+ times. We size operators conservatively — an undersized motor is the fastest route to a repair call. You can read more about what proper driveway gate installation across the Bay Area looks like when it’s sized right from the start.
Hanging, Aligning, and Programming the Gate
Once posts are cured and power is roughed in, we hang the gate panels or mount the slide gate on its carriage rollers.
Swing gate alignment involves shimming hinges to get both panels at the same height, then adjusting so they meet cleanly at the center stop without binding. This is fussier than it sounds — iron gates expand slightly in summer heat, so we build in a small gap at the center to prevent binding on hot afternoons.
Slide gate alignment means confirming the gate runs level on the track or cantilever rollers, that the leading edge clears the strike post smoothly, and that the gate doesn’t drift under gravity if the driveway has any cross-slope.
Operator programming covers:
- Open and close force limits (so the gate reverses if it hits an obstruction)
- Travel limits (so it doesn’t over-travel and stress the motor)
- Timer-to-close settings if the homeowner wants automatic closure
- Keypad codes, remote pairing, and loop detector sensitivity
For our Gate Installation Campbell customers, we also walk through the manual release procedure at the end of every job — because the one time you need it, the power will be out and you won’t want to be reading a manual in the dark.
We bring the same attention to detail to neighboring communities. Whether you need gate installation in Los Gatos or gate installation in Cambrian Park, the process and the standards are identical.
What We Test Before We Hand Over the Remote
A proper commissioning sequence isn’t a quick open-close and a handshake. Here’s what we run through before we consider a job complete:
Obstruction reversal test. We physically interrupt the gate’s path mid-cycle to confirm the operator reverses. Every time, on every job. This is a safety requirement, not a nicety — a gate that doesn’t reverse can seriously injure a child or damage a vehicle.
10-cycle run test. We cycle the gate 10 consecutive times and listen. Grinding, hesitation, or inconsistent travel speed all surface in this test. If anything sounds off, we diagnose before we leave.
Remote and keypad range test. We test the remote from the street approach distance — not just from 5 feet away. A remote that drops out at 30 feet is a frustration you shouldn’t have to live with.
Loop detector sensitivity check (if installed). We drive slowly over the loop and confirm exit detection functions reliably. A loop that misses a vehicle can trap a car or cause a gate to close on a bumper.
Full documentation handoff. We leave the homeowner with operator model information, the manual release location, our service number, and a basic maintenance checklist — things like lubricating hinges twice a year and keeping the track clear of debris.



Frequently Asked Questions About Driveway Gate Installation
How long does a typical driveway gate installation take?
For a single-entry swing or slide gate with a standard operator, plan for one full day of structural work and a second half-day for electrical and programming. More complex setups — dual swing gates, video intercom integration, loop detectors on both sides — can run two full days. We give you a timeline estimate during the site visit, not a vague "a few days."
Do I need a permit for a gate in Campbell, CA?
In most cases, yes — if the gate is motorized or exceeds a certain height. The City of Campbell and Santa Clara County both have requirements that vary by zone and gate type. We handle permit pulling as part of our installation service so you don't have to navigate that process yourself.
What's the difference between a swing gate and a slide gate?
A swing gate opens like a door — one or two panels pivoting inward or outward. It requires clear arc space on each side. A slide gate rolls sideways along a track or cantilever system and works well on sloped driveways or tight lots where a swing arc isn't possible. We help you choose based on your specific driveway geometry, not brand preference.
Can an existing manual gate be converted to automatic?
Often yes, but it depends on the gate's structural condition and post integrity. We assess the existing framework before recommending an add-on operator. A gate that's sagging or has undersized posts needs to be corrected first — bolting a motor to a failing structure just creates an expensive problem later.
What maintenance does a driveway gate need after installation?
Twice-a-year lubrication of hinges, rollers, and the operator chain or screw drive. Annual inspection of the electrical connections and control board for corrosion. Keeping the track or cantilever rollers clear of debris year-round. We offer maintenance plans if you'd rather have a professional handle it on a schedule.
If you’re planning a new gate in Campbell, Santa Clara, or the surrounding South Bay area and want the job done right the first time, reach out to RNA Automatic Gates today. We’ll schedule a no-pressure site visit, give you a detailed written quote, and walk you through exactly what to expect — start to finish. Call us or use our contact form to get on the schedule. We’d rather spend an hour with you upfront than have you call us in eight months to fix someone else’s work.